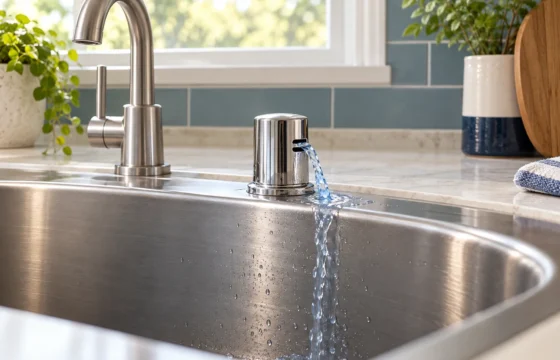
Featured image: an illustrative dishwasher scene, not a photograph of a diagnosed fault or a specific model.
A dishwasher that seems not to drain needs two checks before a repair guess: did the cycle finish, and is the water different from what this model normally retains? Water confined to a filter recess may be normal. A new pool across the tub, water returning hours later, a rising sink, and water escaping onto the counter are different observations.
This guide covers safe observations and owner maintenance for a built-in dishwasher. Use the exact model’s manual for controls, preparation and removable parts. Portable machines, unfamiliar fittings and inaccessible plumbing need their own manufacturer guidance.
Stop first if water is escaping or backing up
Do not start another wash or drain attempt if the sink is backing up, the countertop air gap is spilling, water is leaking into a cabinet or onto the floor, or you notice a burning smell, sparks or repeated breaker trips. Keep people away from wet electrical equipment. Do not reach into a wet cabinet to unplug the dishwasher.
Follow the appliance’s instructions for safely interrupting operation. A Cancel button may start a drain sequence; it is not a universal instant stop. If you cannot safely stop an active leak, get urgent professional help. Any power isolation must be from a dry, safely accessible location; do not touch a wet plug, outlet or panel. Never repeatedly reset a tripping breaker.
Do not add drain cleaner, bleach mixtures, boiling water or a homemade chemical treatment to the dishwasher. A suspected blockage is not a reason to reach into a disposal, remove a pump cover, disconnect hoses or pull the appliance out.
First identify where and when the water appears
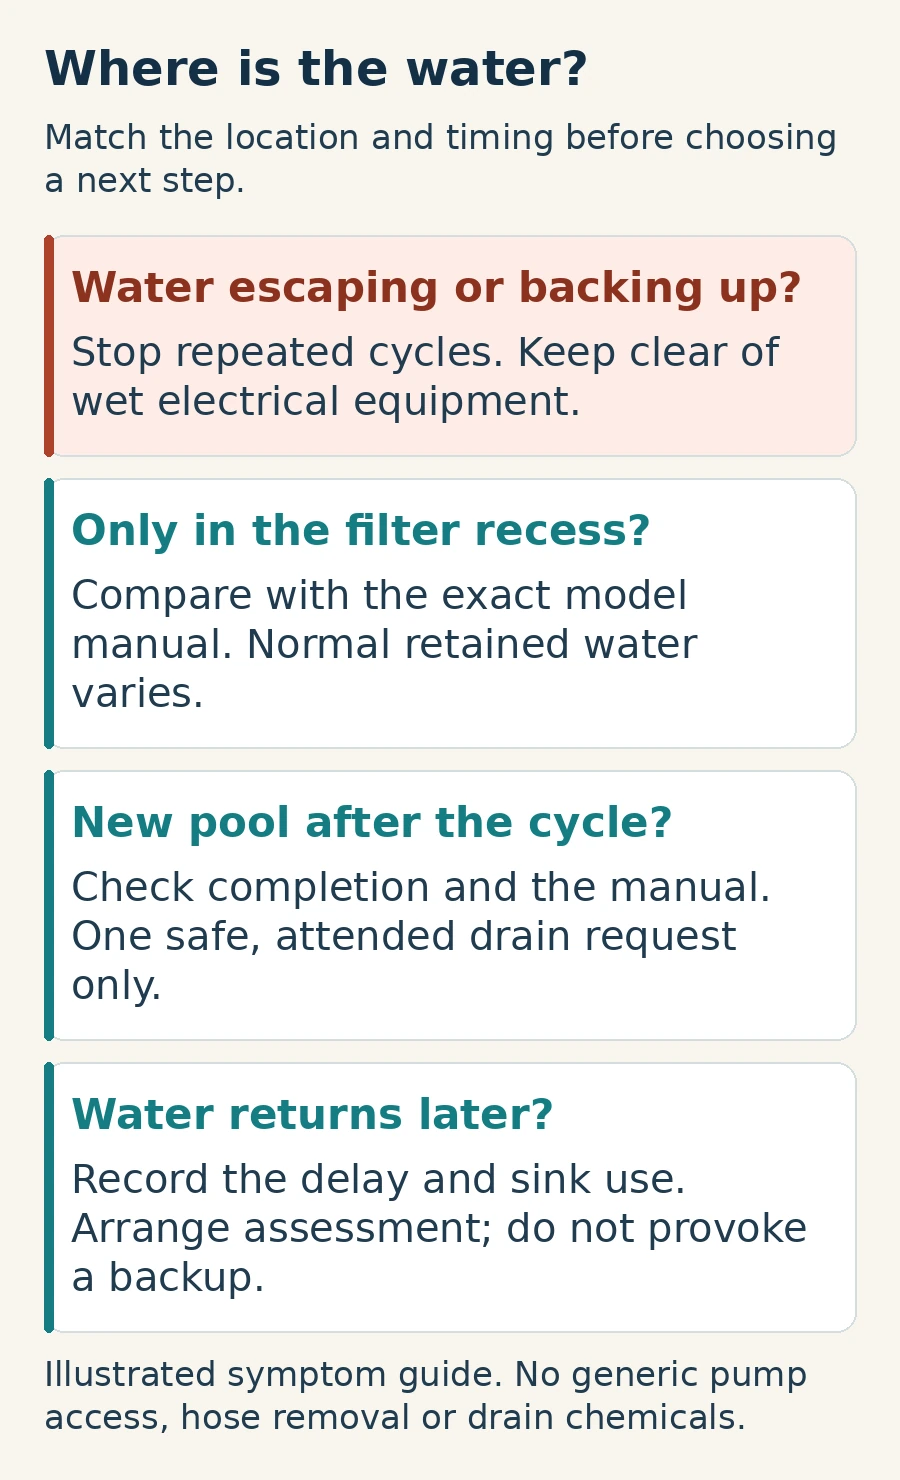
- Only in the recessed filter or sump area: compare it with the model-specific guidance on normal retained water, without removing parts just to measure it.
- A new pool across the tub after a completed cycle: record the cycle status and any error before choosing a drain check. Continue only if there are no backup, leak or electrical stop signs.
- The tub drains, then water returns later: record the delay and whether anyone used the sink in between. Follow the returning-water timeline rather than treating it as water that never drained.
- The sink bowl rises while the dishwasher drains: stop adding water to the connected drain. Use the slow kitchen sink and shared-drain guide.
- Water spills from a small fitting beside the faucet: identify whether it is the dishwasher air gap before touching it. Use the dishwasher air-gap overflow guide for that symptom. Do not repeat drain attempts or block the opening.
- The cabinet or floor gets wet: treat it as a leak. The under-sink leak guide helps distinguish visible leak locations without taking plumbing apart.
Is some water in the bottom normal?
There is no reliable universal inches-or-cups test for every dishwasher. GE’s not-draining guidance distinguishes models with an Ultra Fine filter from designs without it: the expected location of retained water differs. Whirlpool also describes normal water in the filter area on the models covered by its support page.
That means an online photo of a different machine is a poor pass/fail test. Find the model number from an accessible label or your purchase record and check its manual. Ask support if the manual does not describe what you see.
Useful changes to report include water spreading into an area that was previously dry, a higher visible level after the same cycle, or water reappearing after it had drained. Photograph the resting water from the same angle. Appearance and odor may be useful observations, but neither proves that a pump, valve or drain hose has failed.
Check whether the cycle actually finished
Before pressing anything, note the display, lights and any error message exactly as shown. Was the door opened, power interrupted, or a cycle paused? Did the machine indicate completion, or did you simply find it quiet?
Water observed during an interrupted cycle is not the same evidence as water left after a normal completion. Look up the exact model’s instructions for resuming, ending or draining a cycle. Do not borrow a button-hold duration, reset sequence or error-code meaning from another brand or a similar-looking control panel.
If the area is dry, the sink is not backing up, the air gap is not spilling, there is no electrical warning, and the manual provides a normal user drain function, you may request that drain once and stay present. This is a limited observation, not a repeated clearing method. If the instructions are unclear, skip the attempt and contact support. Do not run a new full wash merely to test a suspected fault.
Record whether the visible water level fell and whether the sink or air gap reacted. If it does not drain, the problem returns, or any stop sign appears, do not keep cycling it. A humming sound does not prove that water is moving, and silence does not identify a failed part.
Check the filter only if your manual makes it owner maintenance
Some models have owner-cleanable filters; other designs need different care. Bosch’s filter support resource directs owners to their manual for removal instructions. Use that model-specific route rather than treating a generic twist-and-pull procedure as universal.
- Read the complete maintenance procedure first, including cooling, preparation and power-isolation requirements. Do not start if you cannot meet them safely.
- Perform only the filter cleaning described as owner maintenance for your model. If water obscures the area, glass may be present, or a part resists removal, stop rather than reaching blindly or using force.
- Reinstall and secure every filter exactly as instructed before any later operation. Do not run the machine with a filter missing or loose.
Cleaning a dirty filter may be useful maintenance, but it does not prove the rest of the drain path is clear. This guide does not cover pump-cover removal, impeller access, electrical testing or appliance disassembly. For an unresolved problem, use the manufacturer’s service route.
What the sink and recent installation can tell you
Without moving anything, note any visible hose crushing or a change after a dishwasher, disposal, sink, counter or drain was installed. Photograph an accessible dry connection area for the installer; do not loosen it to look inside.
If the problem began immediately after work, ask the installer to verify the dishwasher drain connection, any applicable disposal inlet preparation, and the drain-hose arrangement against the exact installation instructions and local requirements. Do not remove an inlet plug, alter hose height or substitute a high loop for an air gap based on a generic guide.
A normally draining sink is useful context, but it does not prove the dishwasher’s entire route is clear. Conversely, a sink rising during discharge shifts attention toward the connected plumbing without proving which section is restricted. If several fixtures are affected, the multiple slow drains guide explains why continued water use can make the situation worse.
What if water returns after the dishwasher drains?
Write down when you first confirmed drainage and when you noticed the return. Note whether the dishwasher was idle and whether sink or disposal use happened between those times. Do not deliberately fill the sink or run more cycles to reproduce a backup.
GE’s water-in-the-tub guidance identifies backflow protection and drain routing as relevant to dirty water building up later. The observation does not establish the cause in your installation. Give the timeline to an appliance technician or plumber so they can decide what needs checking, including whether the issue is drainage, backflow or another source of incoming water.
A useful record for the service call
Send facts the technician can use rather than a guessed replacement part:
- Brand and exact model; installation date if known
- Cycle selected and whether it showed complete, paused or an error
- Where the water was: filter recess, tub floor, air-gap opening, sink bowl, cabinet or floor
- When it appeared: after the cycle, during discharge, or later while idle
- Photos, the exact error text, unusual sounds, and any visible foam
- Recent appliance, disposal or plumbing work and any change of detergent
- Any manual-approved filter maintenance and the result of the one drain request, if it was safe to make
Contact an appliance service provider when water remains after the safe checks, the fault recurs, an error persists or the next step would require opening the machine. A plumber is appropriate for a rising sink, repeated air-gap overflow or a suspected shared-drain restriction. If the issue started after installation, contact the installer first and describe the timing. Leakage or electrical warning signs take priority over routine troubleshooting.
After repair: what a leak sensor can and cannot tell you
Once the drainage or leak problem has been addressed and the area is dry and safe, you may want an alert if water escapes onto the cabinet base or floor. Use the leak-sensor checklist for local alarms, phone alerts and remote probes. Follow the device’s placement instructions; do not pull out the dishwasher or put a general-purpose floor alarm inside the appliance.
A spot sensor cannot tell you whether retained water inside the tub is normal, diagnose a pump, or clear a blocked drain. It only watches the area reached by its sensing contacts. EPA distinguishes moisture detection from flow monitoring; choose the type of warning you need after addressing the fault, not as permission to keep using a leaking machine.
Common questions
Can I use drain cleaner in a dishwasher?
No. GE explicitly advises against it in its drainage support guidance. Do not add another product if a chemical has already been used; tell the professional what was added before they work.
Does a humming pump mean it needs replacing?
No. A sound alone is not a diagnosis. Record when it occurs and what the water does; do not reach into the pump area or buy a part based only on the noise.
Should I keep pressing Cancel until the water clears?
No. Cancel can initiate draining on some models. Repeated attempts can send more water toward an obstructed or leaking route. Use only your manual’s normal controls, and stop after the single safe observation described above.
Where can I find model-specific visual instructions?
The official Bosch filter-care resource includes visual support for Bosch owners. Match any demonstration to your exact model and manual; it is not a universal removal procedure. Other brands should use their own support resources.
Editorial scope: homeowner observation and limited, manual-authorized maintenance. Illustrations are explanatory and do not depict a particular model or a verified repair. Manufacturer resources checked October 1, 2026.