If your faucet drips when turned off, first confirm where the water appears and whether the drip stops after residual water drains. A valve or cartridge may not be sealing properly, but the repair depends on the faucet design; a cartridge, washer, and aerator are not interchangeable fixes.
This guide covers ordinary sink faucets. It is not a disassembly guide for every brand and does not cover instant-hot dispensers, shower valves, or electronic faucets. Find the model-specific instructions before opening a handle or valve body.
Water on the floor or under the sink needs a different starting point. Compare the visible-leak troubleshooting paths.
Faucet drips when turned off: where is the water actually coming from?
Dry the visible surfaces with a cloth and watch the faucet without touching hot water. A drop from the spout, moisture around the handle, and water inside the cabinet are different observations. Record whether the leak occurs with the faucet off, only while running, or while moving a pullout hose.
| Observation | What to do next |
|---|---|
| Drops continue from the outlet while the handle is off | Look up the manufacturer’s shutoff or spout-leak procedure. |
| A few drops appear after use, then stop | Observe whether residual water is draining; repeat under the same conditions before deciding a part failed. |
| Water appears around the handle or base | Use the correct leak-location guide rather than assuming the spout seal is responsible. |
| Water appears under the sink | Protect the area, then follow our guide to finding an under-sink leak to distinguish supply, faucet hose, and drain clues. |
If water is spreading into a cabinet or toward electrical equipment, treat that as the immediate problem. Do not handle wet plugs or reach into standing water. Close an accessible fixture shutoff only if it operates normally and you know what it controls; get help for a stuck or leaking valve.
What if the faucet leaks at the base when turned off?
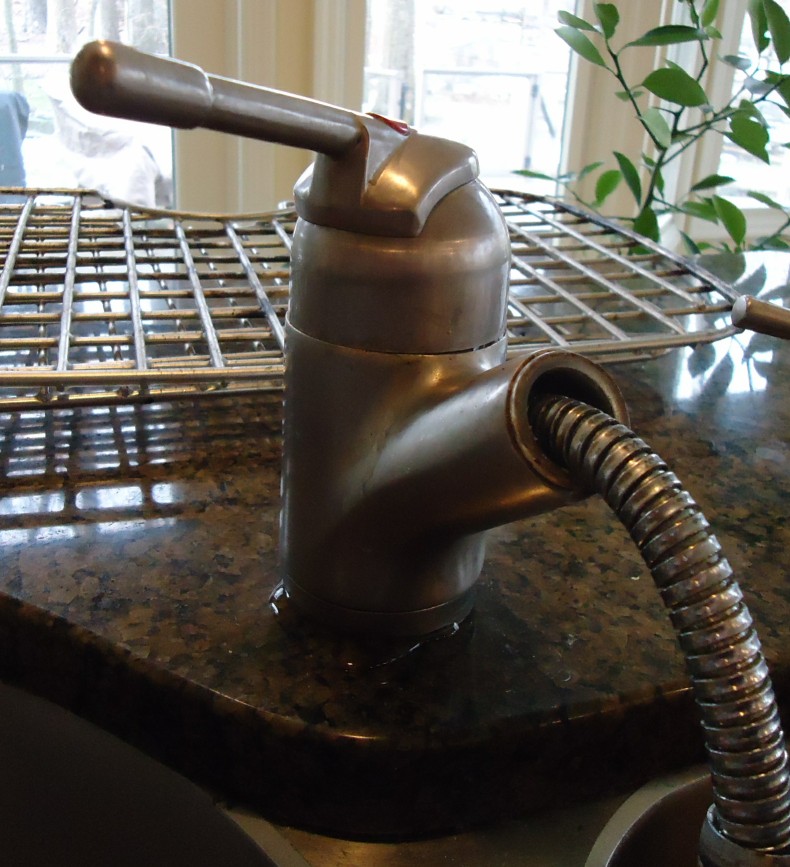
A puddle at the base does not prove that the base seal failed. Water can run down from a handle or spout joint, collect after splashing, or come from a hose or connection below the sink. The first place that becomes wet is more useful than the final puddle location.
- With the handle off and the sink area cool, dry the spout, handle, base, and surrounding counter separately.
- Observe without using the faucet or splashing the area. Record which surface becomes wet first and whether water appears inside the cabinet.
- If everything stays dry and there is no active leak or electrical hazard, observe one brief normal use. Note whether moisture starts only during flow, after shutoff, or when the spout moves.
Use that record with the manufacturer’s guide for your exact faucet. A repair for dripping from the outlet may differ from one for leakage around a moving spout. Do not order a cartridge or O-ring kit from the puddle location alone. For moisture below the counter, follow the under-sink leak checks; stop testing and contain the problem if water is spreading.
Why one generic washer replacement is not enough
The EPA identifies worn washers and gaskets as common faucet-leak causes. That is useful background, but it does not mean every faucet contains the same replaceable washer.
For its conventional kitchen faucets, Moen explains that the cartridge controls flow and is usually the cause when the faucet does not shut off correctly. Its cartridges vary and are not interchangeable. Single-handle and two-handle configurations also differ.
Other faucet designs may use different service parts. Read the parts diagram and troubleshooting guidance for the actual product. Do not buy a rubber washer, ceramic cartridge, or generic seal kit simply because an online article uses that term.
Why cleaning the aerator may not stop the drip
Identify the first wet point
- Spout outlet: distinguish a brief release of retained water from continuing drops after shutoff. Record the timing.
- Handle or faucet body: photograph the first wet seam from a dry, safe position. Do not assume the outlet is leaking.
- Below the sink: check the accessible supply connections visually. Give the faucet model and location to the repairer before ordering a cartridge or seal.
A cartridge, compression washer, and ceramic-disc assembly are not interchangeable repairs. Match the manufacturer’s parts diagram to the faucet before disassembly.
The aerator is at the outlet and shapes the water stream. If the stream is restricted or uneven, see how to clean a faucet aerator using the model-specific instructions. The shutoff mechanism is elsewhere in the faucet. Clearing debris from the outlet can address a restricted or uneven stream, but it is not a universal cure for water passing a closed valve.
If the main symptom is weak flow while the faucet is on, use our one-faucet low-flow guide. Keeping these symptoms separate helps avoid repeated cleaning when the problem needs a different service procedure.
Do not tape over the spout, block the outlet, or apply extra force to the handle to try to make a leaking valve seal. A change in handle feel or a handle that no longer reaches its normal position should be reported as part of the symptom.
Watch a single-handle repair example after identifying the leak
Preparation before disassembly is essential. Identify your faucet and obtain its service instructions. Isolate the water supply and release pressure as those instructions require before opening the valve assembly. Stop if a shutoff is stuck, leaking, or fails to stop the supply; renters should coordinate with the property manager.
Source: Lowe’s Home Improvement, How to Fix a Dripping or Leaky Single Handle Faucet, listed in the EPA’s faucet-leak resources. This is third-party repair footage, not a service visit by The Home Fix Guide. Open the source video if the player does not load.
Use the demonstration to understand the repair process, not to select a part by appearance. A one-handle faucet is not automatically the same internal design as the example, and a two-handle or electronic faucet needs different instructions. For water first appearing below the counter, return to the under-sink leak checks instead of assuming the spout valve caused it.
Prepare before taking anything apart
Begin with the model number, purchase paperwork if available, and photographs of the whole faucet and handle arrangement. Manufacturer product-identification support can be useful when there is no readable marking. A similar-looking faucet is not proof that the internal parts match.
Obtain the correct service instructions and read the complete sequence first. Check what tools, replacement seals, orientation details, and water-isolation steps are required. A special retaining clip or cartridge tool is a reason to prepare properly, not to improvise with more force.
Before opening a valve assembly, follow the manufacturer’s procedure to isolate the water and release pressure. Do not remove a handle assembly or cartridge under a live supply. If the shutoff does not stop the water or starts leaking, stop and contact a plumber.
Keep removed pieces in order, protect the drain, and photograph important orientations. Do not reuse a visibly damaged part just because it fits back into place. Avoid applying grease, sealant, or cleaner unless the instructions specify a compatible product.
What should a successful repair look like?
After a correctly completed repair, restore service according to the instructions and check for leaks around the serviced area. Test normal operation, then turn the handle off and observe the outlet. Repeat the observation after another use; a single dry moment does not establish that an intermittent fault is gone.
Do not leave a supply connection hidden behind stored items before checking it. If a drip continues, document the installed part number and what changed. Further possibilities need diagnosis rather than repeated tightening or installing another random part.
A short record can include: date, original symptom, part installed, whether hot and cold operation are normal, and where any remaining moisture appears. This makes a follow-up with the manufacturer or plumber more efficient.
How much water could the drip waste?
Do not assume all drops are the same size. If it is safe, collect the drip in a stable measuring container for a timed interval without blocking the sink drain. A measured volume gives a clearer description than calling the leak “small.”
For example, 8 US fluid ounces collected in one hour equals 0.0625 gallon per hour. If that rate continued unchanged, it would be 1.5 gallons per day or 45 gallons in 30 days. This is an illustrative calculation, not the expected loss from your faucet.
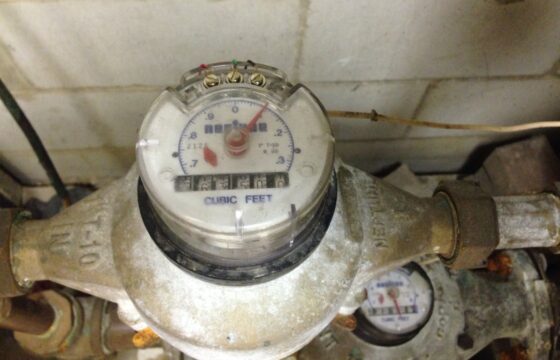
If the bill shows much more unexplained use, do not assume this visible drip accounts for all of it. A water meter leak test can help check the home more broadly. Another common source is a toilet that keeps refilling.
Repair or replace the faucet?
Ask whether the body is sound, the right service parts are available, and the repair scope is reasonable. An accessible compatible cartridge and an extensively corroded fixture present different decisions. A recommendation to replace the faucet should explain why servicing the existing one is unsuitable.
For a replacement, check the sink’s mounting arrangement, clearances, connections, and intended use. Do not choose by finish alone. If the fixture is a bathroom faucet, the EPA’s WaterSense information can help you understand water-efficient replacement options.
Questions for a repair quote
Request a quote in USD that identifies the service part, labor, diagnostic or visit fee, and any work on the shutoff or supply connections. Ask whether the quote covers only the faucet leak or also damage and other plumbing found under the sink.
Check warranty terms before purchasing parts, but do not assume that eligibility, shipping, or labor coverage is guaranteed. We do not give a nationwide installed price here because the model, location, and required work are unknown.
Frequently asked questions
Is a short drip after shutoff always a fault?
Not necessarily. Compare brief post-use drain-down with a continuing off-position leak. Record whether the drops stop and use the guidance for your faucet model.
Can I use any cartridge from the same brand?
No. Match the exact model or the manufacturer’s documented compatibility. Brand and appearance alone are insufficient.
Should I tighten the handle harder?
Do not force it beyond normal operation. Excess force is not a repair for a worn or obstructed sealing mechanism.
When is professional help the better next step?
When the supply cannot be safely isolated, parts are stuck or corroded, the model is unknown, or leakage persists after the correct service procedure. Renters should coordinate repairs with the property manager.
General research checked September 12, 2026; post-use drip references checked October 3, 2026. See our Editorial Policy. Illustrative feature photo: Clay Banks / Unsplash; not a photograph of a repair performed by our publication.