To winterize an outdoor faucet, remove detachable hoses and accessories, identify the faucet model and supply arrangement, then follow the drainage procedure for that setup. A conventional hose faucet supplied by a dedicated indoor shutoff and a frost-free wall faucet can need different valve positions. An insulating cover alone does not settle that difference.
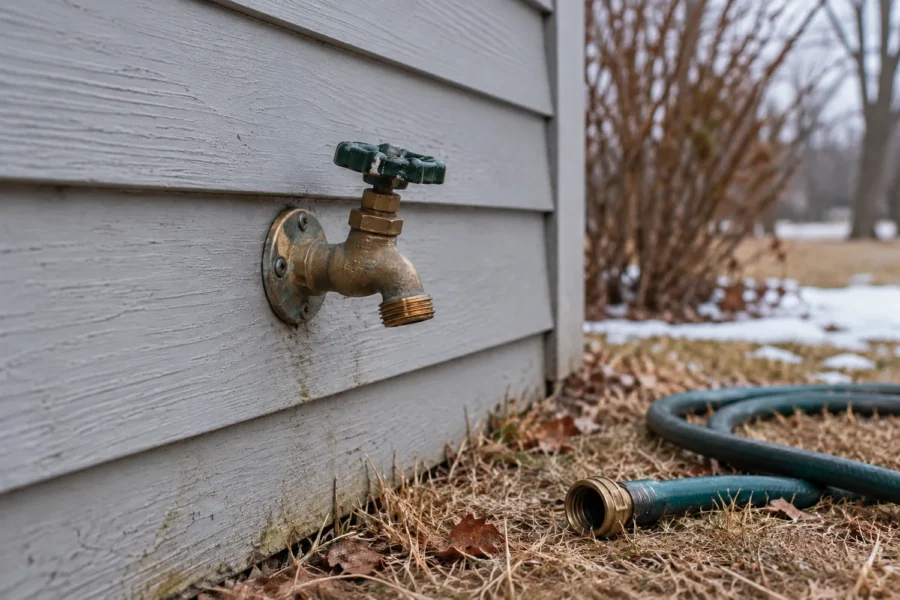
Featured image: AI-generated illustration in a photographic style, not a photograph of an inspected installation.
This guide covers wall-mounted residential hose faucets before freezing weather. Yard hydrants, irrigation backflow assemblies, pools, and outdoor showers need their own instructions. If a faucet is already frozen, a valve will not move normally, or water is leaking inside the building, stop the preparation routine and arrange appropriate help.
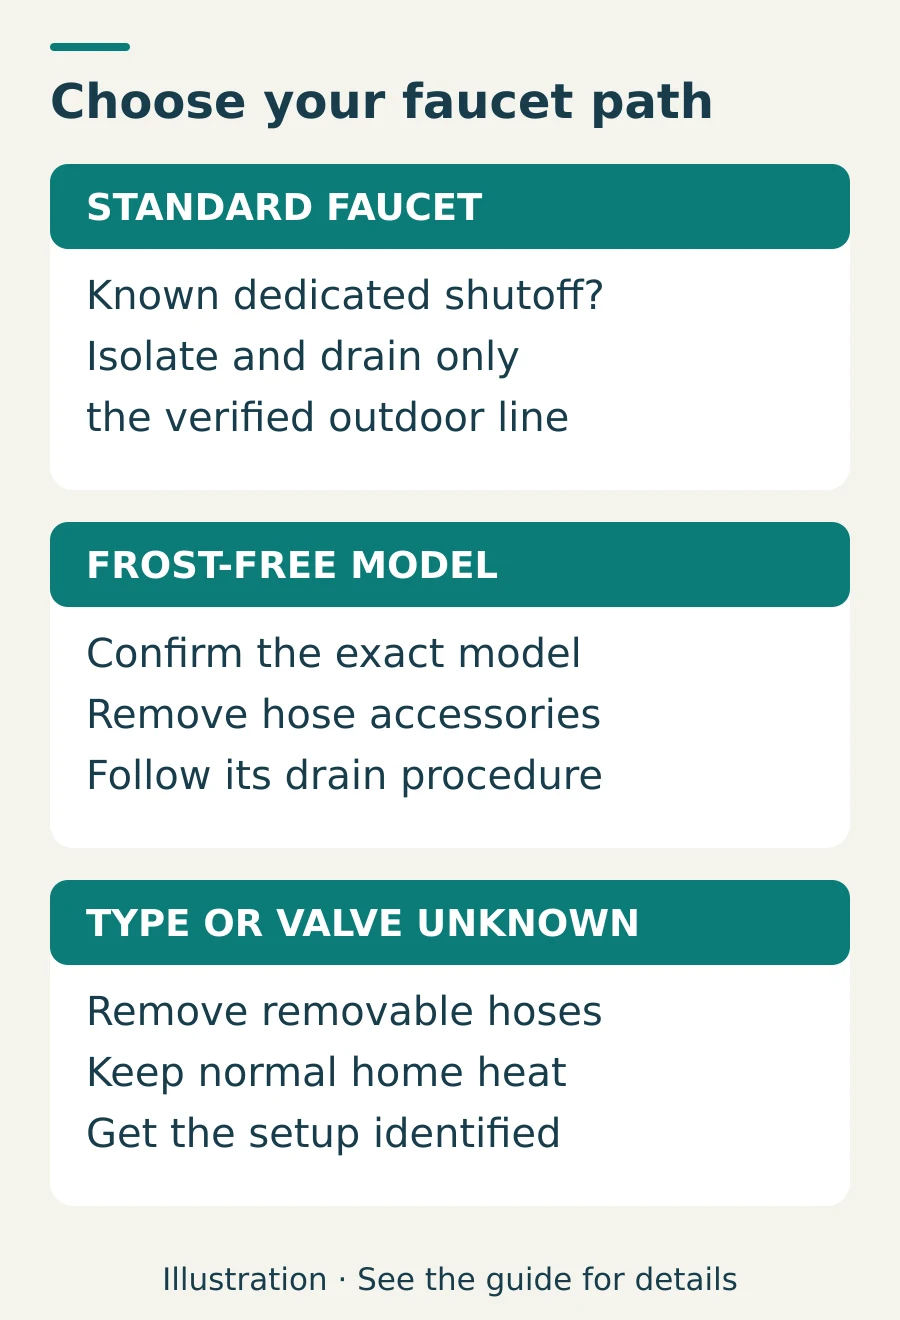
First, identify the faucet without taking it apart
Photograph the front, side, and any readable brand or model marks. Look through your home records for an installation invoice or manual. An “anti-siphon” label describes a backflow-related feature; it does not, by itself, prove that the faucet has a particular frost-free drainage design.
From a safe, accessible indoor area, see whether the outdoor branch has a labeled, dedicated customer-owned shutoff. Do not assume that the nearest valve serves this faucet. In an apartment, townhouse with shared plumbing, or commercial building, ask the responsible manager before operating building controls.
- Known standard faucet with a dedicated supply shutoff: use the isolation-and-drain path below, subject to the installed equipment’s instructions.
- Identified frost-free or self-draining model: use the exact manufacturer’s winter procedure. The model name matters more than a generic product category.
- Unknown model, uncertain valve, or inaccessible supply: remove easily detachable accessories, maintain normal indoor heat, and get the arrangement identified before relying on it for winter protection.
Your main water shutoff is an emergency control for the home’s supply. It should not be confused with a dedicated outdoor-branch valve or used as a substitute for a complete winterization plan.
Remove the hose, splitter, timer, and removable accessories
Do this while the faucet and fittings are unfrozen. Turn the faucet off normally and release hose pressure through its normal hose-end control before disconnecting. Detach removable hoses, nozzles, splitters, and timers; drain and store them as their instructions specify. Leave built-in vacuum breakers and other permanent faucet components in place.
PRIER’s seasonal hose-removal guidance specifically includes nozzles, splitters, and timers. This matters because a hose may be gone while a shutoff accessory remains attached to the outlet.
If a coupling is stuck, stop before twisting the faucet or pipe in the wall. Do not add a long lever, apply a flame, or force a frozen fitting. Photograph the connection and have it freed or repaired safely. A damaged faucet caused by hurried preparation creates a different problem from the one you were trying to prevent.
Path A: a standard faucet with a verified dedicated shutoff
Use this path only when you know the indoor valve serves that outdoor line alone and the equipment instructions call for isolation and drainage. Portland Water Bureau describes closing a separate outdoor supply valve and opening the outdoor spigot to drain retained water. It is not permission to experiment with an unlabeled valve.
- Confirm the path: check the label, documentation, or prior professional identification. Make sure you are not touching a shared supply, irrigation backflow control, or fire-protection line.
- Close the dedicated supply valve normally: do not force a seized, corroded, leaking, or unusually stiff valve.
- Open the outdoor faucet to allow the isolated section to drain: keep people clear of the outlet and allow water to discharge where it will not create a slipping hazard.
- Observe rather than assume: continued pressurized flow means the arrangement or valve needs attention. Do not keep tightening it harder or declare the line winterized.
- Use the specified winter position: follow the instructions for this faucet and valve arrangement. A conventional isolated-and-drained branch is commonly left open outside, but that instruction must not be transferred to every frost-free model.
Some installations have a separate drain or bleeder. Do not remove an unidentified cap because it resembles a drain point. Its identity, purpose, and operation should be confirmed from the equipment instructions or by a plumber.
A brief discharge does not prove that every concealed low point is empty. If the line has an unusual route, has frozen before, or never seems to drain as expected, ask a plumber to evaluate it. Record the problem while there is time to correct it.
Path B: a known frost-free or self-draining model
In a standard frost-free wall-faucet design, the actual shutoff is farther inside the building, where heat protects the supply, and the outer tube drains after shutoff. Woodford’s explanation of a standard frost-proof faucet shows why correct outward drainage pitch and hose removal matter. Trapped water can defeat that protection.
For the identified model, confirm these points in its manual:
- What must be detached from the outlet before freezing weather?
- What is the required off or winter position?
- Where does normal drainage appear, and does it need a clear opening?
- Does the installed supply end remain in a heated part of the structure?
- Are there additional steps for your particular valve arrangement?
Do not disassemble the stem just to identify the internal length, change the mounting angle yourself, or pack material into drain or vent openings. If the installation does not match the manual, a faucet cover is not the correction. Have the installation assessed.
A real exception: PRIER C-434
The PRIER C-434 product page describes a specific self-draining design that can drain with an attached closed-end hose under pressure. That is a model-specific feature, not a general rule for frost-free faucets. Do not infer that another PRIER product or an unidentified faucet behaves the same way.
Removing an unused hose is still a straightforward winter preparation step. The exception’s value is that it shows why “all frost-free faucets work alike” is the wrong decision rule. Match the exact model and current instructions to what is installed.
Manufacturer video: the C-434 design
This PRIER product demonstration is linked from the manufacturer’s C-434 page. It illustrates that specific model, not a universal winterization procedure.
If the player is unavailable, open the PRIER C-434 page and its manufacturer video links.
What a faucet cover can and cannot do
A suitable insulating cover can add protection around the exposed fixture. Choose one that fits the installation and follow both the cover and faucet instructions. It should not block drainage or vent openings, interfere with a vacuum breaker, or conceal an active leak.
Think of the cover as the last layer of a completed plan. Before fitting it, answer three questions: Have removable attachments been dealt with? Has the correct drainage procedure been completed? Is the vulnerable supply inside the building protected? If one answer is unknown, the cover does not resolve it.
Likewise, pipe insulation slows heat loss but does not supply heat. A faucet attached to an unheated building may require a different winterization plan from the same model in a heated house. See the broader frozen-pipe prevention checklist for indoor risk areas and cold-snap monitoring.
What if there is no known indoor shutoff?
First distinguish “there is no valve” from “I have not identified one.” Check accessible documentation and ask the property manager or a plumber. Do not cut into a wall or turn unrelated valves to find it.
If the faucet is positively identified as a frost-free model, follow its manufacturer procedure; a separate indoor valve is not a universal requirement for every design. If the type remains unknown, remove easily detachable hose accessories, keep the building normally heated, and ask for a winterization assessment before freezing weather.
If a freeze is imminent and the setup is unresolved, tell the service provider that clearly. Provide the faucet photo, model markings, accessible indoor pipe route, whether heat is working, and any previous freeze damage. Do not improvise draining the entire home, add antifreeze, or alter a water-heating or fire-protection system.
Check for leaks when the faucet returns to service
Remove any seasonal cover and inspect the exterior for visible damage. If you suspect a frozen or split line, have it assessed before use. Otherwise, return the known system to service according to its instructions and attend its first normal use.
Watch both the faucet and the safely accessible indoor area behind or below it. Woodford’s standard-design explanation notes that a freeze-damaged outer tube may not leak until the faucet is reopened. A dry winter wall therefore does not prove the faucet survived.
If water appears inside, stop using the faucet. Isolate its verified dedicated supply if safe, or use your known customer-owned main shutoff when appropriate. Arrange a repair and keep away from wet electrical equipment. For leak-location clues once the immediate risk is controlled, use our outdoor faucet leaking guide.
Keep a one-minute winterization record
For each outdoor faucet, note its location, exact model or “unknown,” dedicated shutoff location if verified, required winter position, attachments removed, drainage observation, and any unresolved issue. Add a reminder to check the indoor side at first use next season.
This record is particularly useful when someone else maintains the property. “Back patio faucet prepared per Model X instructions; splitters stored in garage” is more informative than “outdoor water done.” Add it to your home plumbing maintenance checklist.
Outdoor faucet winterization questions
Should the outdoor faucet be left open or closed?
It depends on the setup. A conventional branch isolated by a dedicated indoor valve commonly uses an open outdoor faucet for drainage. Many frost-free designs drain after normal shutoff. Follow the exact model and installed arrangement instead of applying one position to both.
Can I leave a hose attached to a frost-free faucet?
Remove unused hoses as the general preparation step. Some specifically designed products, such as the PRIER C-434, have a documented exception. Unless you have verified that exact feature for your model, do not rely on it.
What if it already froze last night?
Do not force the handle or attached fittings. Inspect only from safe, accessible places for leaks, keep normal household heat operating, and arrange assessment if flow is absent or damage is suspected. This guide’s preparation sequence is not a thawing procedure.