If your toilet tank fills slowly, restricted incoming water, debris in the fill valve, or a valve needing service may be involved. First check whether other fixtures are affected and whether the tank actually reaches its normal stopping level. A tank losing water into the bowl can look like a refill problem.
This guide covers conventional gravity-flush toilets with an accessible tank. Pressure-assisted toilets, concealed systems, and electronic fixtures need their own service instructions. You can make the observations below without disconnecting the supply or opening the fill valve.
Compare slow filling with other toilet troubleshooting symptoms before replacing a valve.
Toilet tank fills slowly: refill problem, weak flush, or water loss?
Describe which water level changes and when. The tank refilling after a flush, water leaving the tank during a flush, and the bowl draining are different observations. Do not choose a fill valve from the phrase “draining slowly” alone.
| What happens? | Next check |
|---|---|
| The tank level rises slowly after a flush, then stops normally. | First compare nearby fixtures, then inspect the visible supply and shutoff without taking anything apart. |
| The tank refills normally, but the bowl refills slowly or stays below its usual level. | Use the tank-level versus bowl-refill guide and identify the installed valve. Do not raise the tank level just to change bowl refill; follow the model’s instructions. |
| Water leaves the tank slowly during a flush, or the bowl clears poorly after a normal refill. | Use the weak-flush symptom guide. Do not repeatedly flush a rising or backing-up bowl. |
| The tank loses water while nobody is using the toilet. | Use a food-coloring tank-to-bowl leak check only when the test’s safety conditions are met. |
| Filling never stops, or starts again after a quiet interval. | Follow the running-toilet observation sequence before assuming restricted incoming water. |
| Several fixtures became weak together. | Use the whole-house flow comparison and check for a wider supply issue with the utility or property manager before ordering toilet parts. |
If the valve never stops or keeps restarting, begin with our running-toilet guide. The distinction matters: a new supply valve will not necessarily fix water escaping through the flush outlet.
Check the scope without taking anything apart
Run a nearby cold-water faucet briefly and compare it with its usual flow. Check another fixture if available. Do not compare a faucet’s volume directly with a toilet’s refill speed; the useful question is whether both have changed.
Write down any recent event: a utility interruption, plumbing work, a new supply connector, or the toilet being shut off for cleaning or repair. Timing helps a plumber decide where to investigate. It does not prove that the most recent worker caused the problem.
If only a faucet is affected, use the separate guide to weak flow at one faucet. If the whole home is affected, follow the whole-house low-pressure checks, check utility notices, or contact the building manager. A shared building supply is not something to adjust yourself.
Inspect the visible supply and shutoff
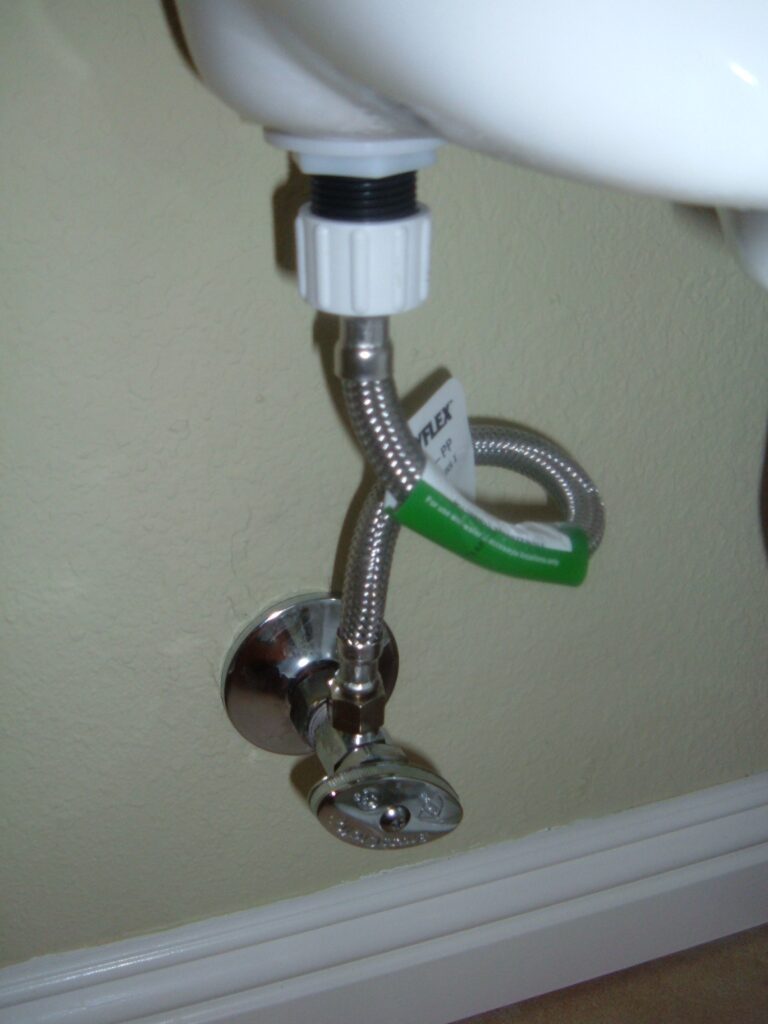
Keep this a visual check. Do not loosen either hose connection to measure incoming flow, pull a bent hose straight under pressure, or infer a valve’s operating position from this photograph. If you find moisture at a connection, use the external toilet leak checks and arrange help rather than continuing timed refill tests.
Look for a sharply bent connector, corrosion, moisture, or damage behind the toilet. Photograph what you see. Do not disconnect a live supply to “see how much water comes out.” Avoid twisting a connector or forcing a stiff shutoff valve.
If you know the shutoff was recently partly closed, follow its operating instructions to restore its normal position. Valve designs differ; do not assume every handle needs repeated turns. Stop if operation causes leakage or the handle resists. A damaged shutoff needs attention before fill-valve work.
Identify the fill valve before cleaning or replacing it
Open the full-size animation if it does not display here.
Fluidmaster demonstration: removing and replacing a fill-valve cap

Fluidmaster’s manufacturer video begins with the water shut off and the toilet flushed. It shows cap removal and replacement on the demonstrated valve design, not a complete universal cleaning procedure. Confirm your valve and follow its full instructions before attempting service. Do not apply this cap motion to an unfamiliar valve. Watch the source video on YouTube.
For a useful comparison, time one normal refill only when the bowl drains normally and no external leak is present. Also note whether water is escaping into the bowl while the tank fills; a slow rise can have more than one cause.
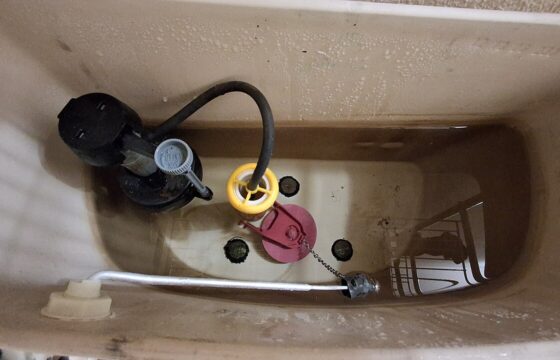
Fluidmaster identifies debris and fill-valve wear as possible causes of slow or absent filling. That does not establish the cause in every toilet. Find the valve brand and model, then read the instructions for that exact valve.
The toilet brand and the installed fill-valve brand may differ after an earlier repair. Photograph both model markings if possible. For the tank ID, use the Kohler and American Standard model-number examples; confirm the installed valve separately. Do not use a cap-removal procedure from another valve just because its top looks similar. Shut off and drain as directed before any disassembly, and leave the work to a plumber if isolation cannot be confirmed.
Our flapper versus fill-valve comparison explains which component controls incoming water and which seals the flush outlet. Use it to describe the suspected issue, not as a replacement-parts guarantee.
Check whether water is escaping while the tank fills
For a conventional tank, a toilet dye test can reveal a tank-to-bowl leak. Follow the test instructions and flush afterward to reduce staining risk. A positive result does not by itself identify the failed seal or valve.
The EPA’s leak guidance recommends a short food-coloring check for toilet leaks. Keep the distinction clear: this checks escaping tank water, not the incoming supply rate. Both problems can exist together.
When to call a plumber
Arrange help when the shutoff leaks or cannot safely operate, the connector is damaged, the tank is cracked, or the valve cannot be identified. Stop using a fixture that is leaking outside the toilet. A wet floor needs prompt investigation rather than repeated test flushes.
Give the plumber your observations: whether filling stops, whether other fixtures changed, recent work, model photographs, and any dye-test result. Ask them to check the supply restriction and possible internal leak before recommending a complete toilet replacement.
Compare repair costs by scope
Request an itemized quote in USD covering diagnosis, the exact replacement part, labor, and any shutoff or connector work. A fill-valve service and a failed supply shutoff are different jobs. Ask whether the service-call charge is credited toward the repair and whether tax is included.
We do not give a national price range without current local quotes and a defined repair scope. If comparing a parts-only purchase, include shipping and confirm compatibility and return conditions first.
After the repair
Observe several normal refill cycles. Check that the valve stops at the manufacturer’s intended level and that exterior connections remain dry. Keep the part number and repair date. If the same symptom remains, report that result rather than continuing to replace unrelated components.
Frequently asked questions
Does slow filling always mean the fill valve is bad?
No. Compare other fixtures and check the visible supply path first. A restriction or concurrent tank leak can change what you observe.
Should I raise the float to make filling faster?
Do not change the intended water level as a speed adjustment. Follow the toilet and valve instructions for the correct stopping level.
Can I keep flushing while the tank refills?
Wait until the normal refill completes when observing performance. Repeated flushing interrupts the observation and may not provide the intended flush volume.
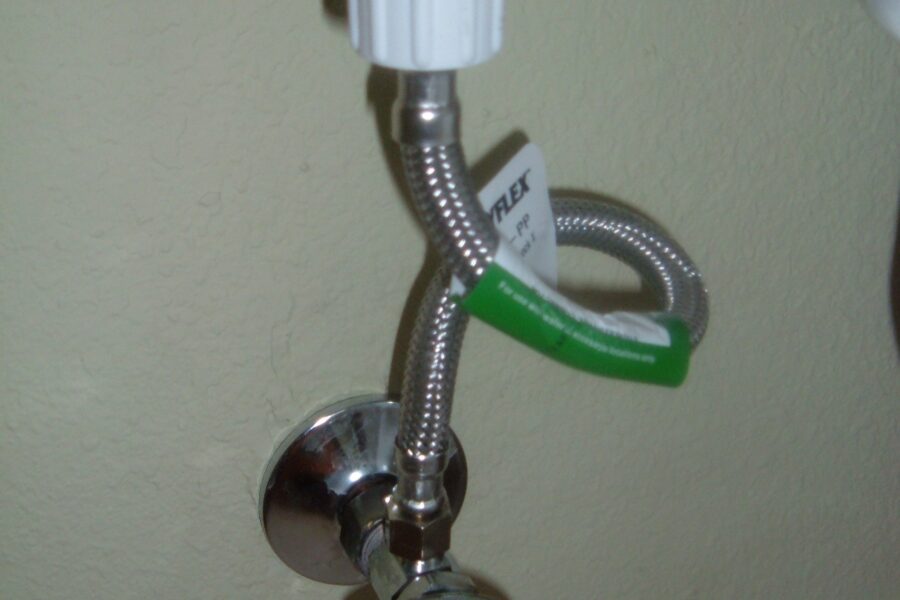
Research-based guide; see our editorial policy. Featured supply-connection photo: © BrokenSphere / Wikimedia Commons, CC BY-SA 3.0. Resized or cropped for display under the same license. This illustration does not identify the cause of a slow refill.