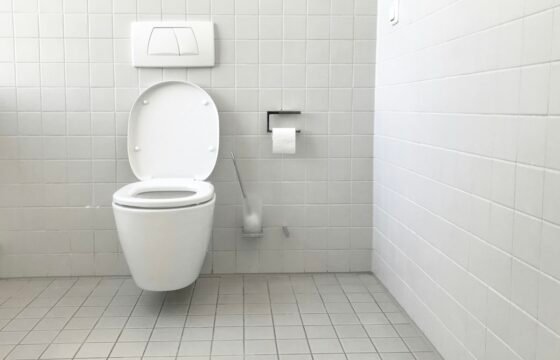
A toilet dye test checks whether water escapes from the tank into the bowl between flushes. Add a few drops of food coloring to an accessible conventional tank, wait 10 minutes without flushing, and look for color in the bowl. Flush afterward. A positive result identifies leakage, but not necessarily the failed part.
Not sure a dye test matches the symptom? Start with the toilet troubleshooting overview.
When this test is useful
You may hear the toilet briefly refill even though nobody used it, notice a faint ripple in the bowl, or suspect unexplained water use. Some tank-to-bowl leaks are quiet. This test gives you a visible observation to discuss with a plumber instead of buying a replacement part based on a noise alone.
It does not check a leak onto the floor, a cracked supply hose, or drainage problems. For water on the floor, follow our toilet base leak guide; moisture coating the tank calls for a separate condensation-versus-leak check. If water is spreading, prioritize controlling the leak safely and protecting people from slipping. Do not keep testing a fixture that is actively damaging the room.
Check the toilet type first
This guide covers a conventional gravity toilet with accessible water in the tank. If lifting the lid reveals a sealed pressure vessel, electrical components, an unfamiliar mechanism, or no accessible tank, stop and follow the toilet manufacturer’s instructions. Do not open a pressure vessel or dismantle a concealed cistern to perform this test.
Lift a normal porcelain lid with both hands and place it flat on a towel on a stable surface. A lid can be heavier than expected and difficult to replace if broken. Avoid balancing it on the toilet seat or leaning it against a wall. If access or lifting is difficult, ask for help.
What to have ready
- A small amount of ordinary food coloring, or a toilet leak-detection tablet approved for the fixture.
- A timer and a phone or notepad for recording the result.
- A towel and a safe place for the lid.
- The toilet model information if available.
Do not add dye to a tank containing cleaning chemicals or tablets. Follow the cleaner’s and fixture’s instructions first; do not mix products. Avoid using strongly colored household cleaners as a substitute for food coloring. The goal is a short diagnostic test, not ongoing treatment of the tank water.
How to do a toilet dye test with food coloring
Use this only after the safety and toilet-type checks above. The tank must be accessible, the bowl must drain normally, and no external leak or incompatible cleaning product should be present. If the tank never finishes refilling, use the running-toilet checks rather than waiting for a settled test.
- Wait for a normal refill to finish. Start with bowl water clear enough to notice a color change.
- Add a few drops of ordinary food coloring to the tank water. Keep it off surrounding surfaces; do not put it in the bowl or overflow tube.
- Leave the toilet unflushed. Tell others not to use it and set a timer.
- After 10 minutes, look for color in the bowl without flushing. Record the wait and what you can actually see.
- Flush promptly afterward. Clear the dye to reduce staining risk.
The 10-minute food-coloring method follows EPA WaterSense’s leak-check instructions. A product-specific leak tablet may specify a different wait; follow its label and the fixture instructions instead of combining methods. If someone flushes during the test, record it as invalid, clear the water, and repeat only when appropriate.
Open the full-size animation if it does not display here.
Real dye test: watch color move from tank to bowl
Concord General Services demonstration, excerpt approximately 3:16–4:08. Watch where the dye goes and where the resulting color appears. The source uses a 30-minute wait; the EPA food-coloring procedure above uses 10 minutes. These are separate instructions, not two consecutive waiting periods. Follow the directions for the test product and toilet, record the wait used, and flush afterward to reduce staining risk. Watch the source video on YouTube.
What the result establishes
Color reaching the bowl without flushing shows a tank-to-bowl water path during the test. It does not, by itself, select the replacement part or measure the leak rate. No visible color during one test does not rule out an intermittent fault.
Interpret what you see
| Observation | Meaning | Next action |
|---|---|---|
| Color appears without a flush | Water traveled from tank to bowl during the test | Compare the tank level with the overflow opening before choosing parts |
| No visible color | No leak was detected during this short observation | Repeat if intermittent refilling continues; investigate other water-use sources |
| Someone flushed | The test cannot distinguish leakage from normal flushing | Reset and repeat |
| Water is outside the toilet | The dye result does not diagnose an external leak | Address the external leak separately |
A positive result is not an automatic order for a fill valve. The tank’s outlet seal and its inlet control perform different jobs. Use our flapper versus fill valve guide to understand that distinction. Then identify a hinged flapper or canister seal and consult the exact toilet’s parts diagram before choosing parts.
A negative result also is not a guarantee that the home is leak-free. A problem may occur only after some flushes, or the excess use may be elsewhere. Record what happened and when instead of stretching one test into a conclusion it cannot support.
Positive dye test: check the tank level before buying a flapper
Color in the bowl establishes water movement, not which route the water took. From a safe position, compare the tank water surface with the overflow opening without moving any parts.
| What you can observe | Next check |
|---|---|
| Tank water is spilling over the overflow opening. | Start with the model’s fill-level and fill-valve troubleshooting. Replacing the flapper alone does not address an overfilling tank. |
| Color reached the bowl, but tank water is below the overflow opening. | Record that combination and identify the flush mechanism. It does not prove that a particular seal or complete valve assembly must be replaced. |
| The tank never finishes filling, or water is leaking outside the toilet. | Stop trying to create a settled dye-test interval. Use the running-toilet or external-leak guide and get help for an unsafe or uncontrolled leak. |
Kohler’s constant-running guidance distinguishes overflow and fill-valve problems. Follow the instructions for your own toilet; do not block the overflow or open a pressurized valve to test a theory.
Continue with running-toilet checks, the fill-versus-flush valve demonstration, or water outside the toilet, according to the observation.
What to check before a repair
Take a photo of the undisturbed tank and record the toilet brand, tank model, and flush mechanism before ordering parts. Use the toilet-part shopping checklist to distinguish a replacement seal, a fill valve, and a complete flush-valve assembly, then confirm the match in the manufacturer’s parts information. Note whether refilling is continuous or intermittent and whether the handle returns normally. Do not adjust multiple parts before recording these details; that makes it harder to understand which change helped.
For the broader symptom sequence, read safe checks for a running toilet. Before any disassembly, the water supply must be reliably isolated and the manufacturer’s procedure followed. A valve that is stiff, corroded, leaking, or unable to stop the supply is a reason to call a plumber, not apply more force.
Cost and service decisions
The test itself may require no purchase if you already have suitable food coloring. Its main value is improving diagnosis. A small seal replacement, a fill-valve replacement, a damaged flush-valve assembly, and an external connection repair are different scopes of work and should not share one assumed price.
Ask a plumber whether the quote includes diagnosis, the exact compatible part, labor, testing, and any service-call charge. Provide the model and your test result beforehand. Ask what happens if the first suspected part does not solve the problem. Do not approve a complete toilet replacement solely because a dye test is positive.
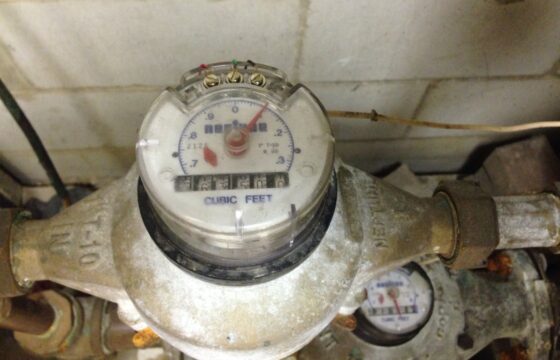
If the reason for testing was unexplained consumption, use a water meter leak test to check the wider property after the toilet repair. Follow utility access rules and do not operate utility-owned valves.
Frequently asked questions
Should I put coloring in the bowl or tank?
In the accessible tank water of a compatible gravity toilet. Coloring the bowl first removes the useful contrast.
Can the test tell me how many gallons are leaking?
No. It shows a path of water movement, not a calibrated flow rate. Do not convert color intensity or the time until a faint tint appears into gallons.
Can I leave the dye overnight?
Use the short test described above and flush afterward. Longer exposure is unnecessary for this check and may increase staining risk.
What should I do after replacing a seal?
Follow the manufacturer’s post-repair checks, confirm normal flushing and refilling, and repeat the dye test once operation has settled. Also check for water outside the tank.
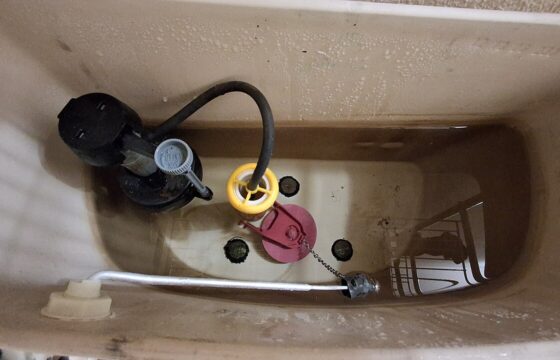
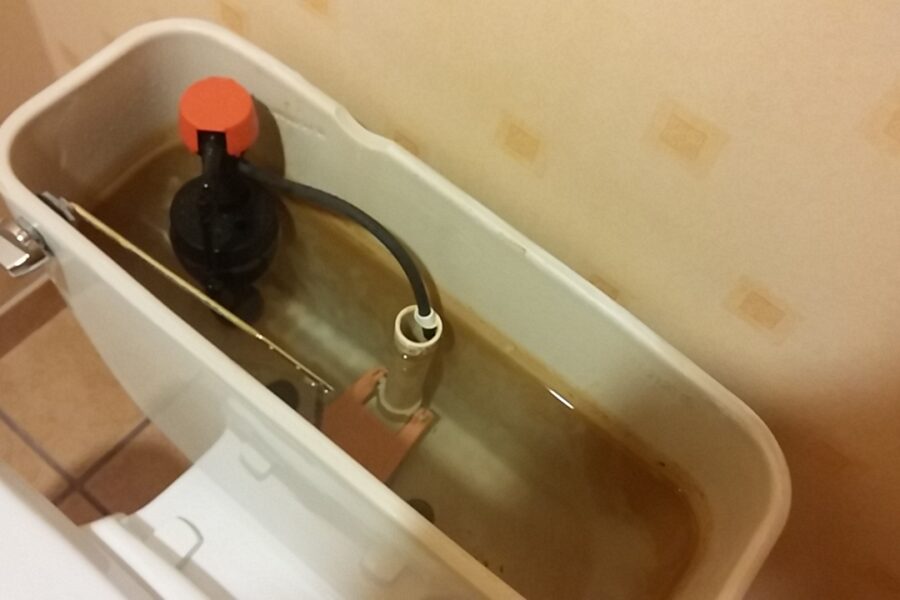
Featured tank photograph: MTSRider18 / Wikimedia Commons, CC BY-SA 3.0. Resized or cropped for display under the same license. This image shows an open tank for context, not a completed dye test. This is a researched guide, not a report of a service visit.