Water around a water heater needs prompt attention, but the puddle does not identify the failed part. Water can travel down piping or the outside of the heater before collecting at its base. Keep clear of hazards first, then report only what you can already see from a safe, dry position.
This guide covers external observations around conventional household storage-tank heaters. It does not provide repair, draining, or restart instructions. For tankless, heat-pump, condensing, boiler-linked, or shared-building equipment, use the exact model’s instructions and qualified service; condensate arrangements and controls differ.
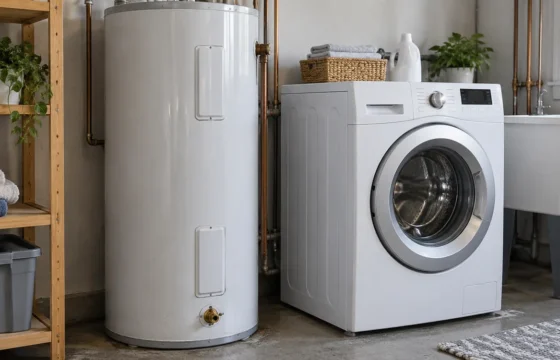
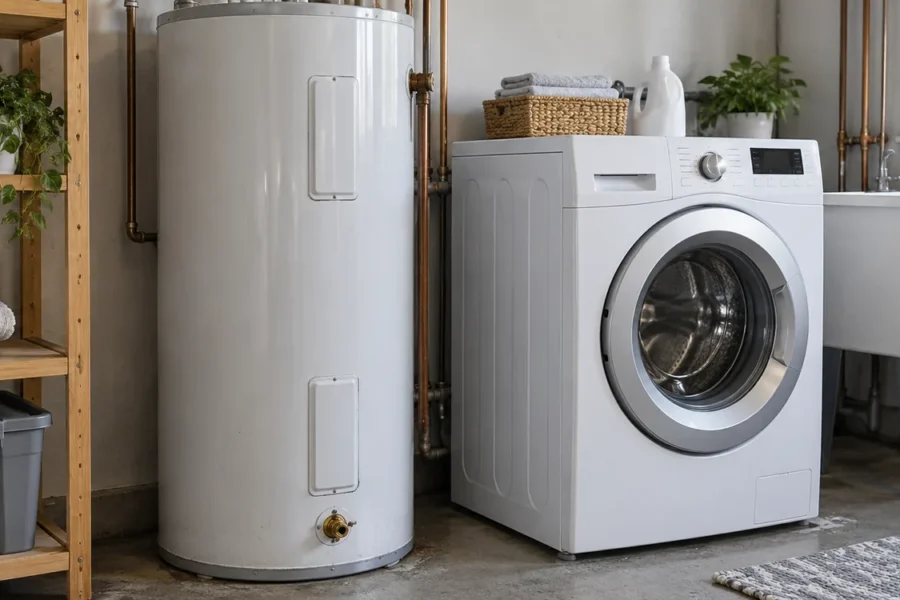
Featured image: AI-generated contextual illustration of a storage water heater beside a washing machine. It does not show a confirmed leak or an inspected installation.
Stop before inspecting if there is a hazard
- Gas odor: leave immediately. Do not operate switches, appliances, heater controls, or a phone inside. Call the gas utility or 911 from outside at a safe distance. Do not return until cleared.
- Carbon monoxide alarm: move everyone outside to fresh air and call 911. Do not look for the source or reenter until emergency responders permit it.
- Wet electrical equipment or standing water: stay out. Do not touch the heater, plugs, outlets, switches, or breakers through a wet or uncertain approach. Arrange urgent professional help.
- Steam, forceful hot discharge, smoke, or immediate danger: keep people away and seek emergency help. Do not approach an outlet to feel the water or catch it.
These boundaries follow Rheem’s water-heater safety bulletin and CPSC carbon-monoxide guidance. CDC electrical-safety guidance also warns against entering water to reach a power switch.
For an active leak without those emergency signs, stop troubleshooting and contact a qualified plumber or heater service provider promptly. Use the installed heater’s emergency shutdown instructions only when you understand them and all required controls are safely accessible from a dry position. Otherwise, have qualified help handle isolation. A. O. Smith advises against continued use of a leaking heater; do not keep it running to see whether the leak worsens.
Our household water-shutoff guide explains identification limits. Do not try unfamiliar valves, shared-building controls, or fire-sprinkler supplies. Closing water alone does not establish that a heater is safe to service.
Separate the collection point from the visible source
A. O. Smith’s Bulletin 51, “Puddle on Floor,” lists piping, drain valves, relief discharge, condensation, and tank leakage among possible sources. That list is a service checklist, not a diagnosis based on where a puddle sits.
Record an already-visible water trail without touching pipes, wiping equipment, removing covers, or reaching underneath. “Water in the pan; origin unknown” is a useful report. You do not need to produce a close-up photograph if access is unsafe.
- Wet pipe or fitting above the tank
- Describe the highest wet point you can see and where the trail continues. A nearby plumbing leak or surface condensation can wet the heater below. Do not tighten a connection to test your guess.
- Water at a relief-discharge outlet
- Tell service exactly which outlet is wet, if identifiable without approaching it. Do not confuse it with the tank’s drain valve. Discharge needs prompt assessment, even when it is only dripping.
- Moisture near the drain valve
- Report whether drops are visibly leaving the outlet or whether the surrounding area is simply wet. Leave the handle untouched; do not attach a hose, cap the outlet, or start draining.
- A wet tank jacket, seam, or base
- Report the location and any visible trail from above. Internal leakage is possible, but water at the bottom does not prove the storage tank itself has failed. Leave panels and insulation in place.
- Water only in the pan or on the floor
- Note which area is wet and whether water is spreading toward other equipment. Mention nearby appliances or plumbing already visibly wet. Do not move the heater or appliances to search behind them.
A dripping relief pipe is not a harmless overflow
The temperature-and-pressure relief valve is a safety device. Rheem’s relief-valve bulletin warns that discharge may indicate an unsafe temperature or pressure condition and calls for immediate contact with a licensed plumber.
Never plug, cap, obstruct, or manipulate the relief valve or its discharge pipe. Do not lift the lever as a leak test, adjust the thermostat to suppress discharge, or wait for another heating cycle to reproduce it. Keep clear of potentially scalding water.
A technician may investigate supply pressure, thermal expansion, valve condition, and temperature control. Our high-water-pressure guide provides background; an active leak or relief discharge is a reason to stop homeowner pressure testing.
Could the moisture be condensation?
Possibly, but that needs confirmation. A. O. Smith Bulletin 15 explains how combustion moisture on certain gas heaters can resemble leakage. Humid air can also leave moisture on cooler supply piping.
Tell service about heavy hot-water use, recent installation, and any timing you already noticed. Those details provide context; they do not clear the heater for continued use. Do not run extra hot water, change a pilot setting, or postpone an active leak overnight to perform a condensation experiment. Equipment designed to collect condensate still needs its own drainage arrangement checked.
What should be established before repair or replacement?
A confirmed tank leak differs from a leaking external connection. Bulletin 51 recommends tank replacement when tank leakage is confirmed. Ask the service provider to name the actual source and explain how it was established, rather than deciding from the final puddle location.
- Is the leak in the tank itself, a serviceable component, connected piping, or a condensate system?
- If a relief device discharged, what caused it, and what additional checks are needed?
- Which model-compatible repair or replacement is proposed, and what does the estimate include?
- Does the installation date, warranty, or previous service history change the available options?
- Who will verify safe operation and explain any follow-up checks?
A. O. Smith’s repair guidance identifies the product manual and warranty as useful starting points. Gather existing paperwork; do not remove parts to find identification.
Make the service call useful
Renters should contact the landlord’s emergency-maintenance service; shared systems belong with building management. Send this short record if it is safe to gather:
- Time first noticed, whether water is spreading, and any alarms or hazards
- Collection point and highest visible wet point, or “source unknown”
- Heater type, brand, exact model, and externally visible code
- Recent installation, service, outage, or unusual hot-water demand
- Safe-distance photos and any shutdown already performed
If heat is also absent, report that alongside the leak. Resume the no-hot-water investigation only after the leakage and safety concerns are resolved.
After the repair
If any part of the heater was submerged, tell service; do not attempt to restart it after drying. Rheem’s submerged-heater bulletin warns against operating flood-submerged units.
Have the technician verify the source is corrected and handle restart according to the model instructions. Ask how and when to report recurring moisture. Once the area is safe and dry, restore and test any leak detector according to its manual. A silenced alert or dry pan alone does not establish that the cause was fixed.
Choose an alert for the actual water path
After the repair, with the area safe and dry, ask the technician to identify suitable sensor locations. The EPA WaterSense guide explains contact-based moisture detection. A practical placement consequence: a sensor on the floor outside a raised drain pan may stay dry while water collects inside the pan. One sensor does not monitor the whole room.
Use our leak-sensor buying checklist to compare an audible alarm you can hear, phone-alert and hub requirements, and a supported probe if the intended detection spot is hard to reach. Follow the heater and sensor instructions for placement, leaving drains and relief-discharge paths unobstructed. An alarm-only sensor does not close a water valve. If automatic shutoff is needed, ask the technician about a compatible system; it is a separate capability.
Scope: research-based observation and service-preparation guidance, not hands-on testing or an inspection of your installation. Return to the plumbing troubleshooting hub for other symptoms.